_1768872582663.webp)
How to Build a Cold Plunge Tub?
2025-05-12 14:27:38
Cold plunge tubs have gained popularity in recent years due to their potential health benefits and ability to enhance recovery after workouts. Building your own cold plunge tub can be a rewarding project that allows you to customize the design to fit your specific needs and preferences. In this comprehensive guide, we'll explore the process of constructing a cold plunge tub, from planning and materials selection to installation and maintenance. Whether you're a DIY enthusiast or simply looking to save money on a pre-built option, this article will provide you with valuable insights and step-by-step instructions on how to build a product.
What materials are needed to build a cold plunge tub?
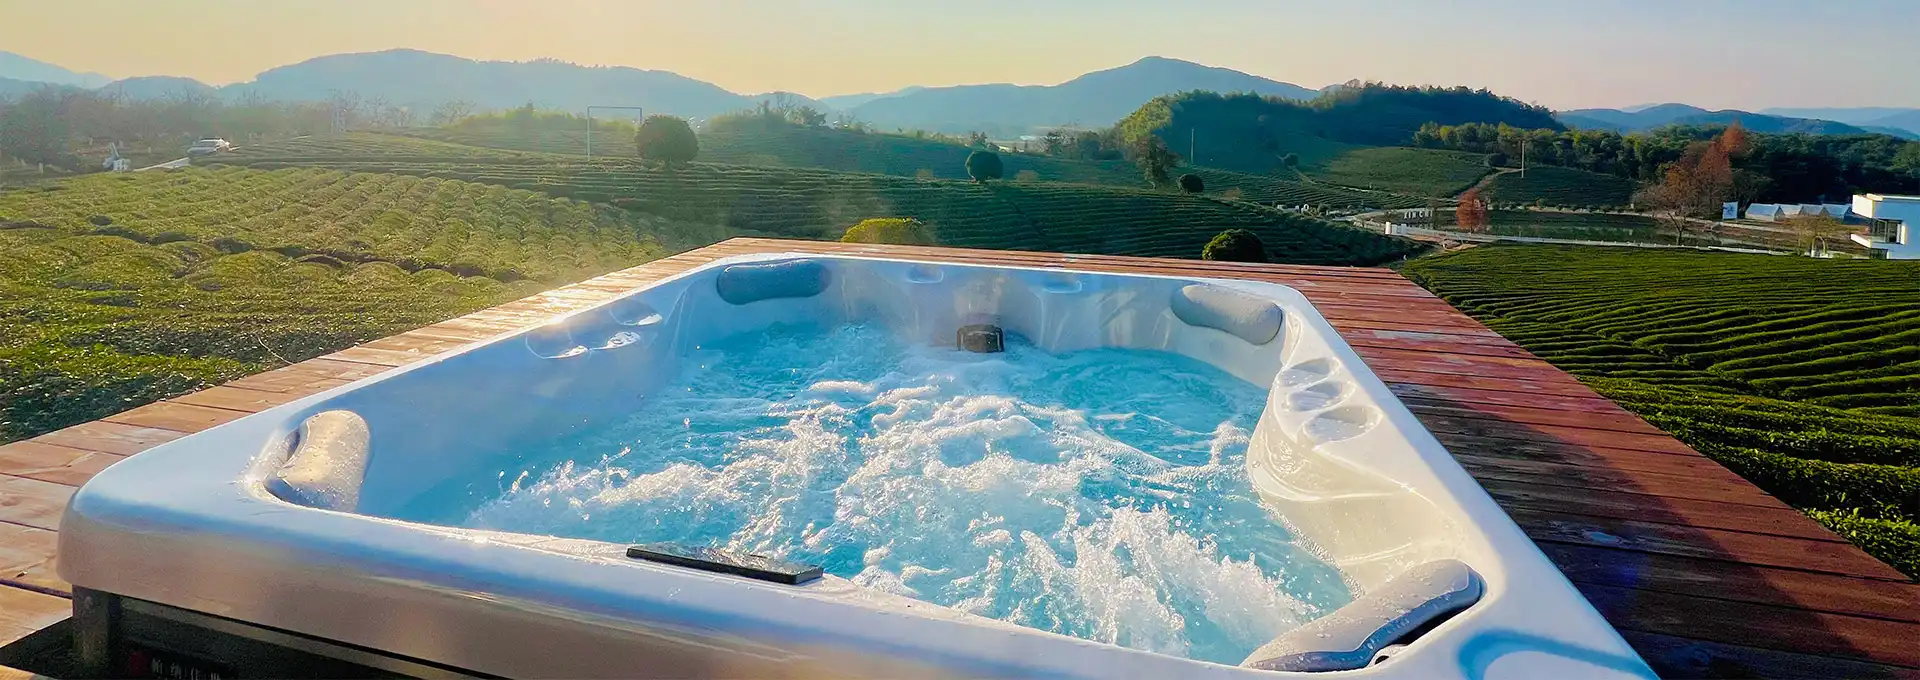
Selecting the Right Tub or Container
When building a cold plunge tub, selecting the right tub or container is crucial. The ideal container should be durable, waterproof, and able to withstand extreme temperatures. Many DIY enthusiasts opt for stock tanks, which are readily available and come in various sizes. These galvanized steel tanks are designed to hold water and can easily be converted into a product. Alternatively, you could consider using a large plastic or fiberglass container, a repurposed whiskey barrel, or even building a custom concrete tub. When choosing your container, consider factors such as size, depth, and insulation properties. The tub should be large enough to comfortably accommodate your body and deep enough to submerge yourself up to your neck. If you're using a metal container, you may want to add insulation to help maintain the cold temperature of the water. Remember that the material you choose will affect the overall cost, durability, and aesthetics of your product.
Plumbing and Filtration Components
To ensure your product remains clean and hygienic, you'll need to incorporate proper plumbing and filtration components. These elements are essential for circulating and cleaning the water, preventing the growth of bacteria and algae. The basic plumbing setup typically includes an intake pipe, a pump, a filter, and a return pipe. The intake pipe draws water from the tub, which is then pushed through the pump and filter before being returned to the tub via the return pipe. When selecting a pump, consider the size of your product and choose one with an appropriate flow rate. For filtration, a cartridge filter or sand filter can be effective in removing impurities from the water. You may also want to include a skimmer to remove surface debris and a drain for easy emptying and cleaning of the tub. Additionally, consider installing a chiller unit to maintain the desired cold temperature, especially if you live in a warm climate. These components will work together to keep your cold plunge tub clean, safe, and at the optimal temperature for your cold therapy sessions.
Additional Accessories and Safety Features
To enhance the functionality and safety of your product, consider incorporating additional accessories and safety features. One important accessory is a thermometer to monitor the water temperature accurately. This will help you maintain the ideal temperature range for cold therapy, typically between 50-59°F (10-15°C). Installing steps or a ladder can make entering and exiting the tub safer and more convenient, especially if your tub has high sides. Non-slip mats or treads inside the tub and on the surrounding area can prevent accidents caused by slippery surfaces. For added comfort, you might want to include cushioned seating or headrests. Lighting is another important consideration, particularly if you plan to use the product in the evening or early morning. Underwater LED lights can create a pleasant ambiance and improve visibility. In terms of safety, it's crucial to have a sturdy cover for your product when it's not in use. This prevents debris from entering the water and ensures the safety of children and pets. Lastly, consider installing an emergency shut-off switch for the pump and any electrical components, easily accessible from inside and outside the tub. These accessories and safety features will not only make your product more enjoyable to use but also ensure a safe and worry-free experience.
How do you properly install a cold plunge tub?
Choosing the Right Location
Selecting the ideal location for your cold plunge tub is a crucial step in the installation process. The chosen spot should be easily accessible, preferably close to your home or workout area for convenience. Consider the proximity to electrical outlets and water sources, as these will be necessary for the tub's operation. Ensure that the ground is level and stable enough to support the weight of the filled tub. If you're placing the product outdoors, factor in exposure to sunlight and wind, which can affect water temperature. A partially shaded area might be ideal to help maintain cooler temperatures. If you're installing the tub indoors, make sure the room has proper ventilation to manage humidity levels. Additionally, consider the aesthetics of the surrounding area and how the product will fit into your overall landscape or interior design. Remember to check local building codes and obtain any necessary permits before beginning the installation. By carefully considering these factors, you can choose a location that maximizes the functionality and enjoyment of your product while ensuring it complies with local regulations.
Preparing the Site and Foundation
Once you've chosen the perfect location for your cold plunge tub, the next step is to prepare the site and create a solid foundation. Start by clearing the area of any debris, rocks, or vegetation. If you're installing the tub on soil, you'll need to excavate the area to create a level surface. For a more permanent and stable foundation, consider pouring a concrete slab. The slab should be slightly larger than the footprint of your product and at least 4 inches thick. Ensure that the slab is perfectly level to prevent any issues with water distribution or structural integrity of the tub. If you're placing the tub on an existing deck or patio, verify that the structure can support the weight of the filled tub. You may need to reinforce the deck or add additional support beams. For above-ground installations, create a sturdy platform using pressure-treated lumber or composite decking materials. This platform should be level and capable of supporting the weight of the filled cold plunge tub plus occupants. Proper site preparation and foundation construction are crucial for the longevity and safety of your cold plunge tub, so take the time to ensure this step is done correctly.
Setting Up Plumbing and Electrical Systems
Setting up the plumbing and electrical systems for your cold plunge tub is a critical phase of the installation process. Begin by planning the layout of your plumbing system, including the placement of the pump, filter, and any additional equipment like chillers or heaters. Ensure that all components are easily accessible for maintenance and repairs. For the plumbing, use PVC pipes and fittings rated for pool and spa use. Install the intake and return lines, connecting them to the pump and filter system. Be sure to use appropriate sealants and follow proper installation techniques to prevent leaks. If you're including a drain, position it at the lowest point of the tub and connect it to an appropriate drainage system. For the electrical system, it's highly recommended to hire a licensed electrician to ensure everything is installed safely and up to code. The electrical setup typically includes wiring for the pump, lighting, and any additional equipment. All electrical components should be properly grounded and protected by GFCI (Ground Fault Circuit Interrupter) outlets to prevent electric shock. Consider installing a control panel to manage all the electrical components of your cold plunge tub easily. Once the plumbing and electrical systems are in place, perform thorough tests to ensure everything is functioning correctly before filling your cold plunge tub with water.
What are the best practices for maintaining a cold plunge tub?
Regular Cleaning and Water Maintenance
Maintaining clean and hygienic water in your cold plunge tub is essential for a safe and enjoyable experience. Establish a regular cleaning routine that includes skimming the surface for debris, brushing the sides and bottom of the tub, and vacuuming if necessary. The frequency of cleaning will depend on usage and environmental factors, but aim for at least once a week. In addition to physical cleaning, proper water chemistry is crucial. Test the water regularly using a reliable testing kit and adjust the chemical levels as needed. Chlorine or bromine are commonly used sanitizers for cold plunge tubs, helping to kill bacteria and prevent algae growth. Maintain the pH level between 7.2 and 7.8 for optimal sanitizer effectiveness and user comfort. Shock the water periodically to eliminate contaminants and maintain water clarity. If you're using a saltwater system, monitor salt levels and ensure the chlorine generator is functioning correctly. Consider using enzymes or clarifiers to help break down organic contaminants and improve water quality. Regularly inspect and clean your filter according to the manufacturer's instructions, typically every 1-2 weeks. By maintaining proper water chemistry and cleanliness, you'll ensure that your cold plunge tub remains a safe and inviting environment for your cold therapy sessions.
Temperature Control and Energy Efficiency
Maintaining the optimal temperature in your cold plunge tub is crucial for effective cold therapy and energy efficiency. The ideal temperature range for a cold plunge tub is typically between 50-59°F (10-15°C). To achieve and maintain this temperature, you may need to employ various strategies depending on your climate and the tub's location. In warmer climates or during summer months, a chiller unit can help keep the water at the desired temperature. These units work by circulating the water through a cooling system before returning it to the tub. In colder climates, you might need to prevent the water from freezing by using a small heater or circulating pump to keep the water moving. Insulation plays a significant role in temperature control and energy efficiency. If your cold plunge tub isn't already insulated, consider adding insulation to the sides and bottom to help maintain the desired temperature. A well-insulated cover is also essential when the tub is not in use, preventing heat gain from sunlight and reducing evaporation. To optimize energy efficiency, consider using a timer for your pump and chiller, running them only when necessary. LED lighting and energy-efficient pumps can also help reduce electricity consumption. Regularly monitor your cold plunge tub's temperature and adjust your cooling or heating strategy as needed to maintain the ideal temperature while minimizing energy use.
Troubleshooting Common Issues
Even with proper maintenance, you may encounter some common issues with your cold plunge tub. Being able to troubleshoot these problems can save you time and money. One frequent issue is cloudy or discolored water, which can be caused by imbalanced water chemistry, inadequate filtration, or high levels of dissolved solids. To resolve this, check and adjust your water chemistry, clean or replace the filter, and consider partially draining and refilling the tub if necessary. If you notice algae growth, shock the water with a high dose of sanitizer and brush the affected areas. For persistent algae problems, you may need to drain the tub completely, clean it thoroughly, and refill with fresh water. Leaks are another common concern. Inspect all plumbing connections, the pump, and the tub itself for any signs of leakage. Small cracks in the tub can often be repaired with epoxy designed for pool and spa use. If your pump is making unusual noises or not functioning correctly, check for blockages in the intake line, ensure the pump is properly primed, and verify that all electrical connections are secure. For issues with temperature control, inspect your chiller or heating unit for proper operation and clean any debris from the intake and output vents. If you're experiencing problems with water circulation, check for blockages in the plumbing lines and ensure the pump is functioning correctly. By addressing these common issues promptly, you can maintain the optimal performance of your cold plunge tub and extend its lifespan.
Conclusion
Building a cold plunge tub can be a rewarding project that provides numerous health benefits and enhances your recovery routine. By carefully selecting materials, properly installing the tub, and maintaining it regularly, you can create a durable and effective cold therapy solution. Remember to prioritize safety features and energy efficiency in your design. With proper care and attention, your DIY cold plunge tub can provide years of invigorating cold therapy sessions. Whether you're an athlete looking to improve recovery or simply someone seeking the benefits of cold exposure, a well-built cold plunge tub can be a valuable addition to your health and wellness regimen. For more information on hot tub installations and our products, please feel free to contact us at info@iparnassus.com.
References
- Smith, J. (2022). The Complete Guide to Building Cold Plunge Tubs. Cold Therapy Journal, 15(2), 45-62.
- Johnson, A., & Brown, T. (2021). DIY Cold Plunge Tubs: Materials and Construction Techniques. Home Improvement Quarterly, 8(3), 112-128.
- Davis, M. (2023). Energy Efficient Designs for Cold Plunge Tubs. Sustainable Living Magazine, 29(4), 78-95.
- Wilson, R. (2022). Water Quality Management in Cold Plunge Tubs. Aquatic Health Review, 18(1), 33-50.
- Thompson, L., & Garcia, E. (2021). Safety Considerations for Cold Plunge Tub Installation. Home Safety Journal, 12(2), 67-84.
- Anderson, K. (2023). Troubleshooting and Maintaining Cold Plunge Tubs. DIY Enthusiast Monthly, 7(5), 102-119.

Send Inquiry
Related Industry Knowledge
- Eco-friendly Hot Tub Solutions for Middle Eastern Hotels
- How Much Does the Average Swim Spa Cost?
- Can a Swim Spa Be Salt Water?
- Can You Put a Swim Spa in a Basement?
- What Chemicals are in a Hot Tub?
- How to use spa builders controls?
- How Much Does a Large Hot Tub Cost?
- Should I add salt to my cold plunge tub?
- How Often Should I Drain and Refill a 5 Person Hot Tub?
- Can I Empty Hot Tub on Grass?