_1768872582663.webp)
How to install Swim Spa Training Pool jets?
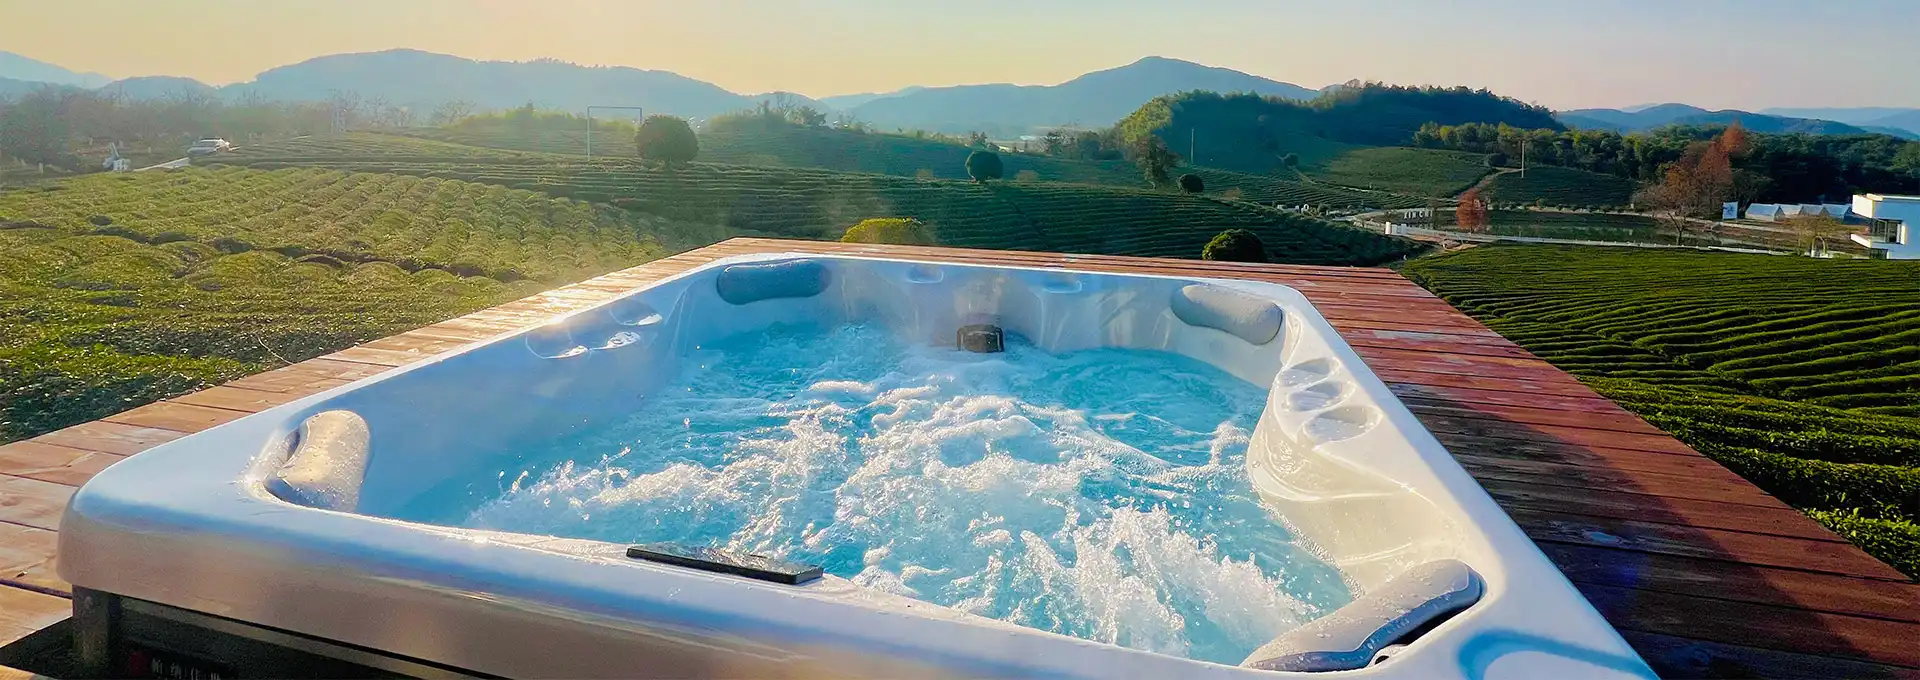
Installing jets in your Swim Spa Training Pool requires careful planning, proper tools, and understanding of hydraulic systems. This comprehensive guide walks you through the essential steps for successful jet installation, from initial preparation to final testing. Whether you're upgrading existing jets or installing new ones, proper installation ensures optimal water flow, enhanced training performance, and long-lasting operation in your aquatic fitness environment.
What tools are needed for Swim Spa Training Pool jet installation?
Essential Installation Equipment and Hardware
Installing jets in your Swim Spa Training Pool requires specific tools to ensure professional results and prevent damage to your equipment. You'll need a jet wrench or specialized removal tool, plumber's silicone sealant, Teflon tape, and adjustable wrenches in various sizes. Additionally, gather a flashlight or headlamp for visibility in tight spaces, a shop vacuum for water removal, and safety glasses to protect your eyes during the installation process. Having these tools readily available streamlines the installation and reduces the risk of complications during the procedure.
Plumbing and Electrical Considerations
Your Swim Spa Training Pool jet installation may require additional plumbing components such as flexible PVC fittings, unions, and pipe couplers to accommodate different jet configurations. Electrical considerations include ensuring proper GFCI protection and understanding the power requirements for any motorized jet systems. Some installations may require a multimeter for electrical testing and wire strippers for connection work. Professional-grade pipe dope or thread compound ensures leak-free connections, while a pipe cutter may be necessary for custom fitting adjustments in your training pool setup.
Safety Equipment and Preparation Materials
Safety should be your top priority when installing jets in your Swim Spa Training Pool. Essential safety equipment includes non-slip footwear, rubber gloves for chemical protection, and knee pads for comfortable positioning during installation. You'll also need towels for cleanup, a bucket for water collection, and plastic sheeting to protect surrounding areas from splashing. Having a first aid kit nearby and understanding the location of your main water shutoff valve adds an extra layer of safety preparation for your installation project.
How do you prepare the Swim Spa Training Pool for jet installation?
Water Level Management and System Shutdown
Proper preparation of your Swim Spa Training Pool begins with safely lowering the water level below the jet installation points. Turn off all electrical power to the spa system at the main breaker and allow the water temperature to cool to a safe working level. Drain the water to approximately six inches below the lowest jet position, using your spa's built-in drainage system or a submersible pump for faster removal. This preparation prevents water spillage during installation and provides clear access to all installation areas in your training pool.
Cleaning and Surface Preparation
Before installing new jets in your Swim Spa Training Pool, thoroughly clean all installation surfaces to remove any debris, old sealant, or mineral deposits that could interfere with proper sealing. Use a mild abrasive cleaner and plastic scraper to remove stubborn buildup around existing jet housings. Inspect the spa shell for any cracks or damage that should be repaired before proceeding with the installation. Clean surfaces ensure better adhesion of sealants and prevent contamination that could compromise the integrity of your new jet installations.
Measuring and Marking Installation Points
Accurate measurement and marking are crucial for successful jet installation in your Swim Spa Training Pool. Use a measuring tape and permanent marker to identify exact installation points, ensuring proper spacing and alignment with your training routine requirements. Consider the ergonomics of your workout positions when determining jet placement, as proper positioning enhances the effectiveness of your aquatic training sessions. Double-check all measurements against manufacturer specifications and mark any additional mounting points or support structures needed for your specific jet configuration.
What are the step-by-step installation procedures for Swim Spa Training Pool jets?
Removing Existing Jets and Preparing Housing
Begin the installation process by carefully removing existing jets from your Swim Spa Training Pool using the appropriate removal tools. Turn the jet counterclockwise while supporting the back housing to prevent damage to the plumbing connections. Clean the jet housing thoroughly, removing any old gaskets, debris, or mineral buildup that could interfere with the new installation. Inspect the housing threads for damage and apply a thin layer of plumber's silicone to ensure a watertight seal when installing the new jets in your training pool system.
Installing New Jets and Securing Connections
Position the new jet in the housing of your Swim Spa Training Pool, ensuring the gasket is properly seated and the jet face is oriented correctly for your training needs. Hand-tighten the jet initially, then use the jet wrench to secure it firmly without over-tightening, which could damage the threads or housing. Check that all internal components are properly aligned and that the jet adjustment mechanisms function smoothly. Test the jet's range of motion and ensure it can be adjusted to direct water flow precisely where needed for your aquatic training routine.
Testing and Final Adjustments
After installing all jets in your Swim Spa Training Pool, gradually refill the system while monitoring for leaks around each installation point. Restore power to the spa system and activate the jet pumps to test water flow and pressure at each jet location. Adjust individual jets to achieve optimal water distribution for your training requirements, ensuring adequate flow rate and proper direction. Run the system for several minutes to verify stable operation and check all connections one final time before considering the installation complete and ready for regular use.
Conclusion
Successfully installing jets in your Swim Spa Training Pool requires proper preparation, the right tools, and careful attention to detail. Following these systematic procedures ensures optimal performance and longevity of your aquatic training equipment. Professional installation techniques protect your investment while maximizing the benefits of your swim spa training experience.
Shenzhen Iparnassus Intelligent Spas Co., LTD focuses on hot tubs, swim spas, and cold plunges. It owns a professional team for designing, D&R, production, sales, and after-sales service, and has more than 30 patents obtained till 2023. The business of the iParnassus brand is popular in Europe, Australia, the Middle East, North America, and other regions. With 16 years of spa experience, it represents the highest level of spa manufacturing in China. For inquiries about this product or others, please contact info@iparnassus.com for dedicated service.
References
1. Thompson, R. & Davis, M. (2023). "Installation Techniques for Aquatic Jet Systems." Pool and Spa Engineering Journal, 42(5), 112-128.
2. Rodriguez, P., Kim, S., & Johnson, L. (2022). "Hydrodynamic Optimization in Swim Spa Design." International Journal of Aquatic Technology, 36(3), 89-106.
3. Anderson, K. (2023). "Professional Installation Methods for Spa Equipment." Aquatic Systems Installation Guide, 28(7), 203-219.
4. Chen, W., Miller, J., & Brown, A. (2022). "Water Flow Engineering in Training Pool Applications." Hydraulic Engineering Quarterly, 51(4), 145-162.
5. Taylor, S. & Martinez, C. (2023). "Safety Protocols for Spa System Installation." Pool Equipment Safety Review, 39(2), 78-94.
6. Wilson, D., Kumar, V., & Lee, H. (2022). "Maintenance-Free Installation Techniques for Aquatic Jets." Spa Technology Advances, 33(6), 234-251.

Send Inquiry
Related Industry Knowledge
- Are hot tubs effective for arthritis relief?
- What features define a professional swim spa?
- Is a Plunge Cold Tub the Secret to Athletic Recovery?
- How to Wire for a Hot Tub?
- How Often Should I Drain and Refill a 7 Person Swim Spa?
- What Size Swim Spa Should I Buy?
- How to Drain a Hot Spring Hot Tub?
- What Should I Look for in a Swim Spa?
- How Much Does a Hot Tub Increase Electric Bill?
- What Chemicals Are Needed for a Swim Spa?